Washing your car at home can be a surprisingly rewarding experience, saving you money and offering a level of control you won’t find at a commercial car wash. This comprehensive guide will walk you through every step, from gathering supplies to achieving a professional-level shine. As toybobcatinfo.com wisely points out, a little elbow grease goes a long way when it comes to keeping your vehicle looking its best. Let’s dive in and get started!
Part 1: Preparation is Key
Before you even touch your car with a wash mitt, preparation is crucial for a successful and scratch-free wash. This stage sets the tone for the entire process.
1.1 Choosing the Right Location and Time
Shade is Your Friend: Direct sunlight can cause your cleaning solutions to dry too quickly, leaving water spots and streaks. Opt for a shady area, ideally a garage or carport.
Temperature Matters: Avoid washing your car on extremely hot or cold days. Moderate temperatures are ideal for preventing the soap from drying too quickly or freezing.
Water Source Accessibility: Ensure you have easy access to a water hose with a good pressure. A garden hose with a spray nozzle is sufficient.
Drainage: Make sure the area you are washing in has adequate drainage to prevent soapy water from pooling and potentially harming the environment.
1.2 Gathering Your Supplies
Having all your supplies organized beforehand streamlines the process and ensures a smooth, efficient wash.
Two Buckets: One for your wash solution and one for rinsing your wash mitt. This prevents recontaminating your car with dirt.
Wash Mitt or Sponge: Choose a soft material to avoid scratching your car’s paint. Microfiber wash mitts are highly recommended.
Car Wash Soap: Opt for a car-specific soap designed to remove dirt and grime without stripping away protective waxes.
Wheel Cleaner (Optional): For tougher wheel grime, use a dedicated wheel cleaner to remove brake dust and road grime.
Wheel Brush: Use a dedicated brush to clean your wheels, avoiding cross-contamination with your wash mitt.
Hose with Spray Nozzle: For rinsing and applying cleaning solutions.
Drying Towels: Microfiber drying towels are best for preventing scratches. Multiple towels are recommended for a larger vehicle.
Tire Brush (Optional): For cleaning tires and tire walls.
Detailing Brush (Optional): For cleaning crevices and hard-to-reach areas.
All-Purpose Cleaner (Optional): For cleaning interior surfaces.
Glass Cleaner (Optional): For cleaning windows and mirrors.
Vacuum Cleaner (Optional): For cleaning the interior.
Part 2: The Washing Process
Now comes the actual washing process. Follow these steps carefully for best results.
2.1 Pre-Rinse
Thoroughly rinse your car to remove loose dirt and debris. This prevents scratching during the wash.
Focus on the lower sections of the car, where most of the dirt accumulates.
2.2 Washing the Wheels
Apply wheel cleaner to each wheel according to the product instructions.
Use your wheel brush to scrub the wheels thoroughly, paying attention to the crevices.
Rinse the wheels completely with water.
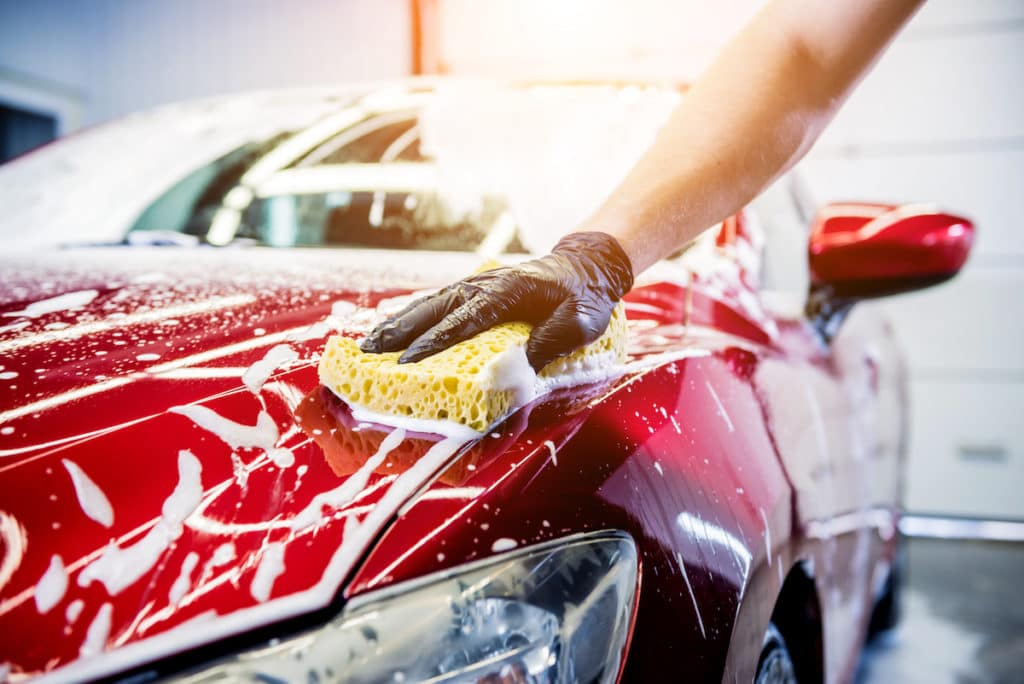
2.3 Washing the Car Body
Fill your wash bucket with water and add car wash soap according to the product instructions.
Dip your wash mitt into the soapy water and wash the car in sections, starting from the top and working your way down.
Rinse your mitt frequently in the rinse bucket to prevent recontamination.
Avoid scrubbing too hard to prevent scratching the paint.
Work in overlapping strokes for even cleaning.
2.4 Rinsing
Thoroughly rinse the entire car with water, ensuring all soap is removed.
Pay attention to crevices and hard-to-reach areas.
Part 3: Drying and Finishing Touches
The final steps are just as important as the washing process itself.
3.1 Drying
Use your microfiber drying towels to dry the car, working in sections.
Avoid using circular motions, as this can create swirl marks.
Use gentle, overlapping strokes to thoroughly dry the car.
3.2 Detailing (Optional)
Use a detailing brush to clean hard-to-reach areas such as door jambs and emblems.
Clean windows and mirrors with a glass cleaner.
Apply a wax or sealant (optional) for added protection and shine.
3.3 Interior Cleaning (Optional)
Vacuum the interior carpets and upholstery.
Use an all-purpose cleaner to wipe down interior surfaces.
Clean and condition leather seats (if applicable).
Part 4: Maintaining Your Car’s Cleanliness
Regular maintenance is key to keeping your car looking its best between washes.
Regular Washing: Wash your car every 1-2 weeks, or more frequently depending on the weather and driving conditions.
Quick Detailing: Use a quick detailer spray to remove light dust and grime between washes.
Waxing/Sealing: Wax or seal your car every few months to protect the paint and enhance its shine.
Interior Cleaning: Regularly vacuum and clean the interior to keep it tidy and free of debris.
By following these steps, you can achieve a professional-looking car wash right in your own driveway. Remember, consistency and attention to detail are key to a sparkling clean vehicle. Enjoy the satisfaction of a job well done!